Google Cloud (with OAuth)
Allows users to authenticate using their Google credentials by configuring Google Cloud as a federated identity provider via OAuth2.
Preparation
The following placeholders are used in this guide:
authentik.companyis the FQDN of the authentik installation.
Google configuration
To integrate Google with authentik you will need to create a new project, and OAuth credentials in the Google Developer console.
- Log in to the Google Developer Console.
- Click on GLogin in the top left and then New Project.

-
Set the following values:
- Project Name: Provide a name
- Organization: Leave as default if unsure
- Location: Leave as default if unsure
-
Click Create.
-
Select your project from the drop down at the top.
-
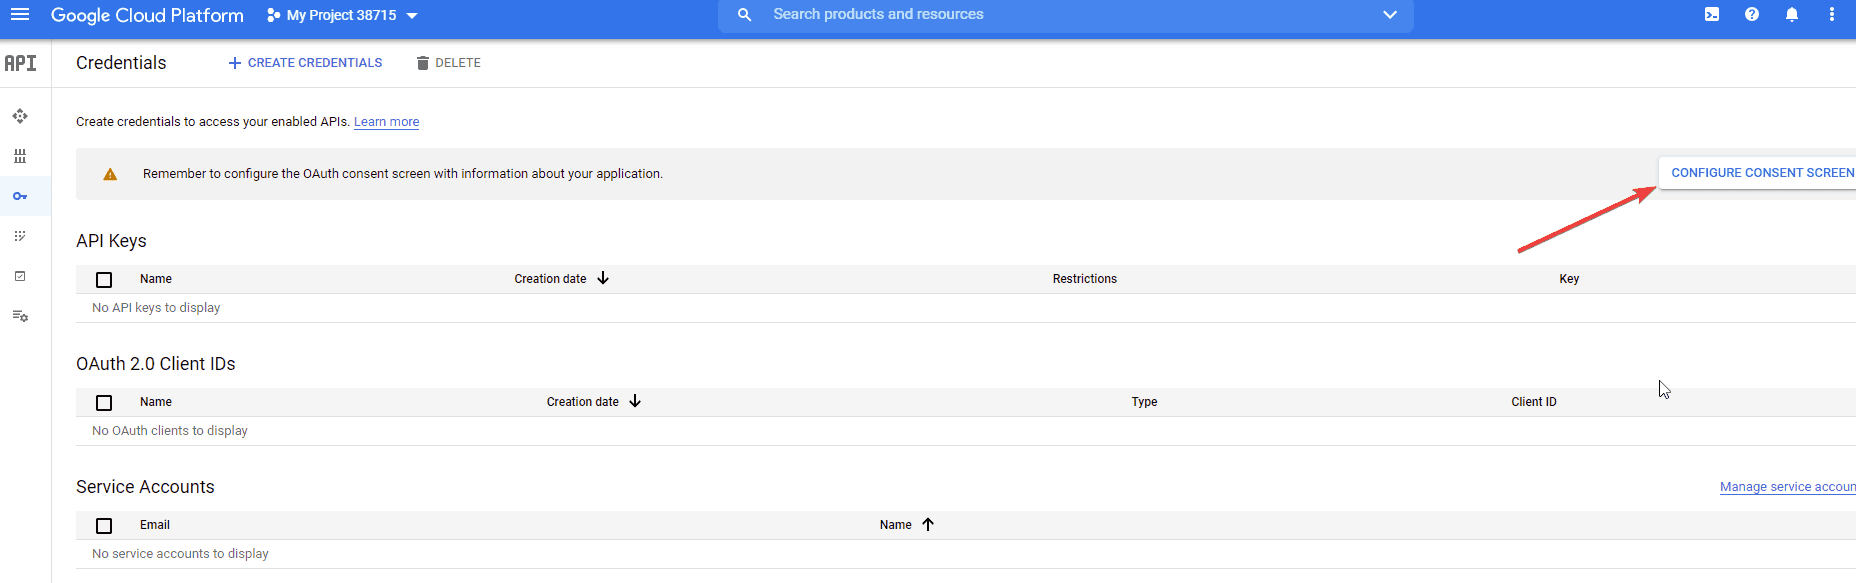
Click the Credentials menu icon on the left which looks like a key.

- On the right side, click on Configure Consent Screen.
- Set the following required fields:
- User Type: If you do not have a Google Workspace (GSuite) account choose External. If you do have a Google Workspace (GSuite) account and want to limit access to only users inside of your organization choose Internal.
- App Name:
authentik - User Support Email: Must have a value
- Authorized Domains: authentik.company
- Developer Contact Info: Must have a value
- Click Save and Continue
- If you have special scopes configured for Google, enter them on this screen. If not click Save and Continue.
- If you want to create test users enter them here, if not click Save and Continue.
- From the Summary page click on the Credentials menu icon on the left (the icon looks like a key.)
- Click Create Credentials on the top of the screen and select OAuth Client ID.
- Set the following required fields:
- Application Type:
Web Application - Name: Provide a name
- Authorized redirect URIs:
https://authentik.company/source/oauth/callback/google/
- Application Type:
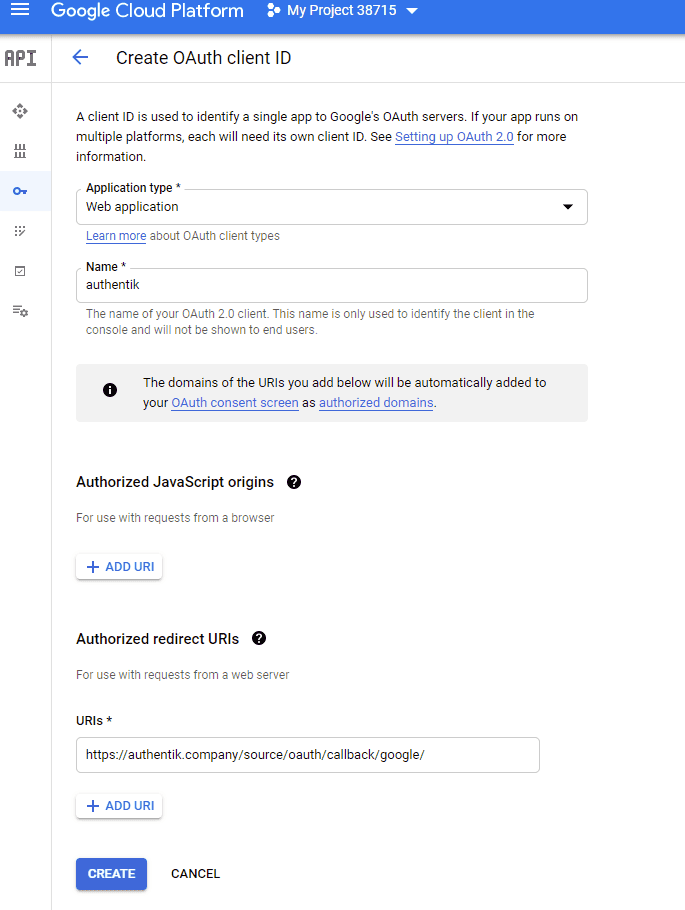
- Click Create.
- Take note of the Client ID and Client Secret. These values will be required in the next section.
authentik configuration
To support the integration of Google with authentik, you need to create a Google OAuth source in authentik.
- Log in to authentik as an administrator and open the authentik Admin interface.
- Navigate to Directory > Federation and Social login, click Create, and then configure the following settings:
- Select type: select Google OAuth Source as the source type.
- Create Google OAuth Source: provide a name, a slug which must match the slug used in the Google
Authorized redirect URIfield (e.g.google), and set the following required configurations:- Protocol settings
- Consumer Key:
<client_ID> - Consumer Secret:
<client_secret> - Scopes (optional): define any further access scopes.
- Consumer Key:
- Protocol settings
- Click Finish to save your settings.
For instructions on how to display the new source on the authentik login page, refer to the Add sources to default login page documentation.
For instructions on embedding the new source within a flow, such as an authorization flow, refer to the Source Stage documentation.
Optional additional configuration
Username mapping
Google does not have the concept of a username, therefore authentik will by default prompt the user for a username when they first enroll through a google source. To change this behaviour and automatically use the email address as username, create an expression policy to set the username to the email, and bind it to the enrollment flow.
- Log in to authentik as an administrator and open the authentik Admin interface.
- Navigate to Customization > Policies.
- Click Create, select Expression Policy and then Next.
- Provide a name for the policy and set the following expression:
email = request.context["prompt_data"]["email"]
# Direct set username to email

request.context["prompt_data"]["username"] = email
# Set username to email without domain
# request.context["prompt_data"]["username"] = email.split("@")[0]
return False
- Click Finish. You can now bind this policy to the chosen enrollment flow of the Google OAuth source.
- Navigate to Flows and Stages > Flows and click the name of the flow in question.
- Open the Stage Bindings tab, expand the policies bound to the first stage and click Bind existing Policy/Group/User.
- Select the policy that you previously created and click Create.
If using the default enrollment flow the policy should be bound to the default-source-enrollment-prompt stage. Ensure that the policy comes before default-source-enrollment-if-username.
Afterwards, any new logins will automatically have their Google email address used as their username. This can be combined with disallowing users from changing their usernames, see Configuration.