Integrate with Frappe
Support level: Community
These instructions apply to all projects in the Frappe Family.
What is Frappe
Frappe is a full stack, batteries-included, web framework written in Python and JavaScript.
Preparation
The following placeholders are used in this guide:
frappe.companyis the FQDN of the Frappe installation.authentik.companyis the FQDN of the authentik installation.provideris the name for the social login provider in Frappe.
This documentation only lists the settings that have been changed from their default values. Please verify your changes carefully to avoid any issues accessing your application.
authentik configuration
To support the integration of Frappe with authentik, you need to create an application/provider pair in authentik.
Create an application and provider in authentik
- Log in to authentik as an admin, and open the authentik Admin interface.
- Navigate to Applications > Applications and click Create with Provider to create an application and provider pair. (Alternatively you can first create a provider separately, then create the application and connect it with the provider.)
- Application: provide a descriptive name, an optional group for the type of application, the policy engine mode, and optional UI settings.
- Choose a Provider type: select OAuth2/OpenID Connect as the provider type.
- Configure the Provider: provide a name (or accept the auto-provided name), the authorization flow to use for this provider, and the following required configurations.
- Note the Client ID, Client Secret, and slug values because they will be required later.
- Set a
Strictredirect URI to https://frappe.company/api/method/frappe.integrations.oauth2_logins.custom/provider. - Select any available signing key.
- Under Advanced Protocol Settings, set Subject mode to be
Based on the Users's username.
- Configure Bindings (optional): you can create a binding (policy, group, or user) to manage the listing and access to applications on a user's My applications page.
- Click Submit to save the new application and provider.
Frappe configuration
-
Navigate to Integrations
- From the Frappe main menu, go to Integrations and then select Social Login Key.
-
Add a New Social Login Key
- Click the black + New button in the top-right corner.
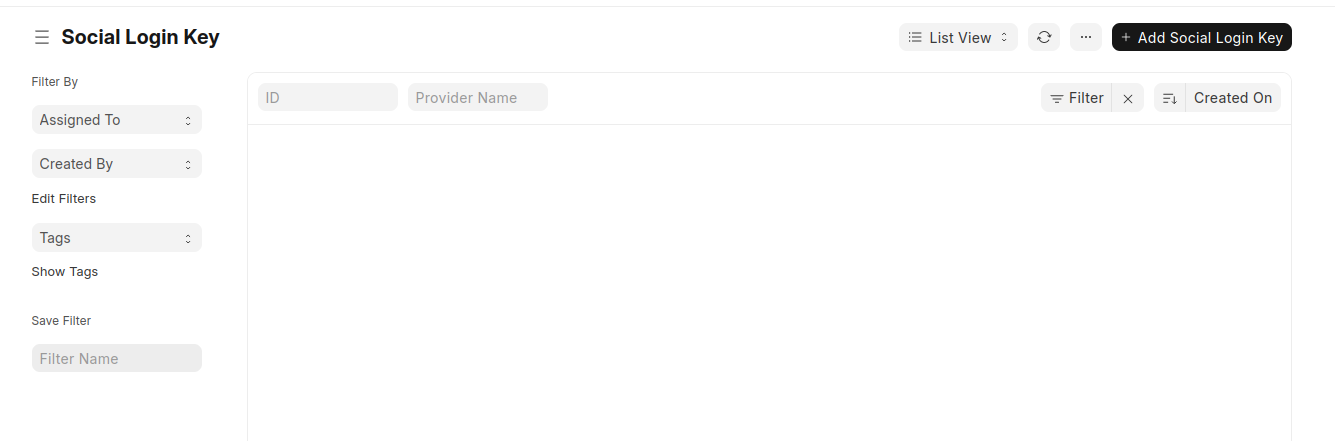
- Click the black + New button in the top-right corner.
-
Enter the Required Settings
-
Client Credentials
- Enable Social Login: Turn the toggle to the on position.
- Client ID: Enter the Client ID from the authentik wizard.
- Client Secret: Enter the Client Secret from the authentik wizard.
-
Configuration
- Sign-ups: Set to Allow.
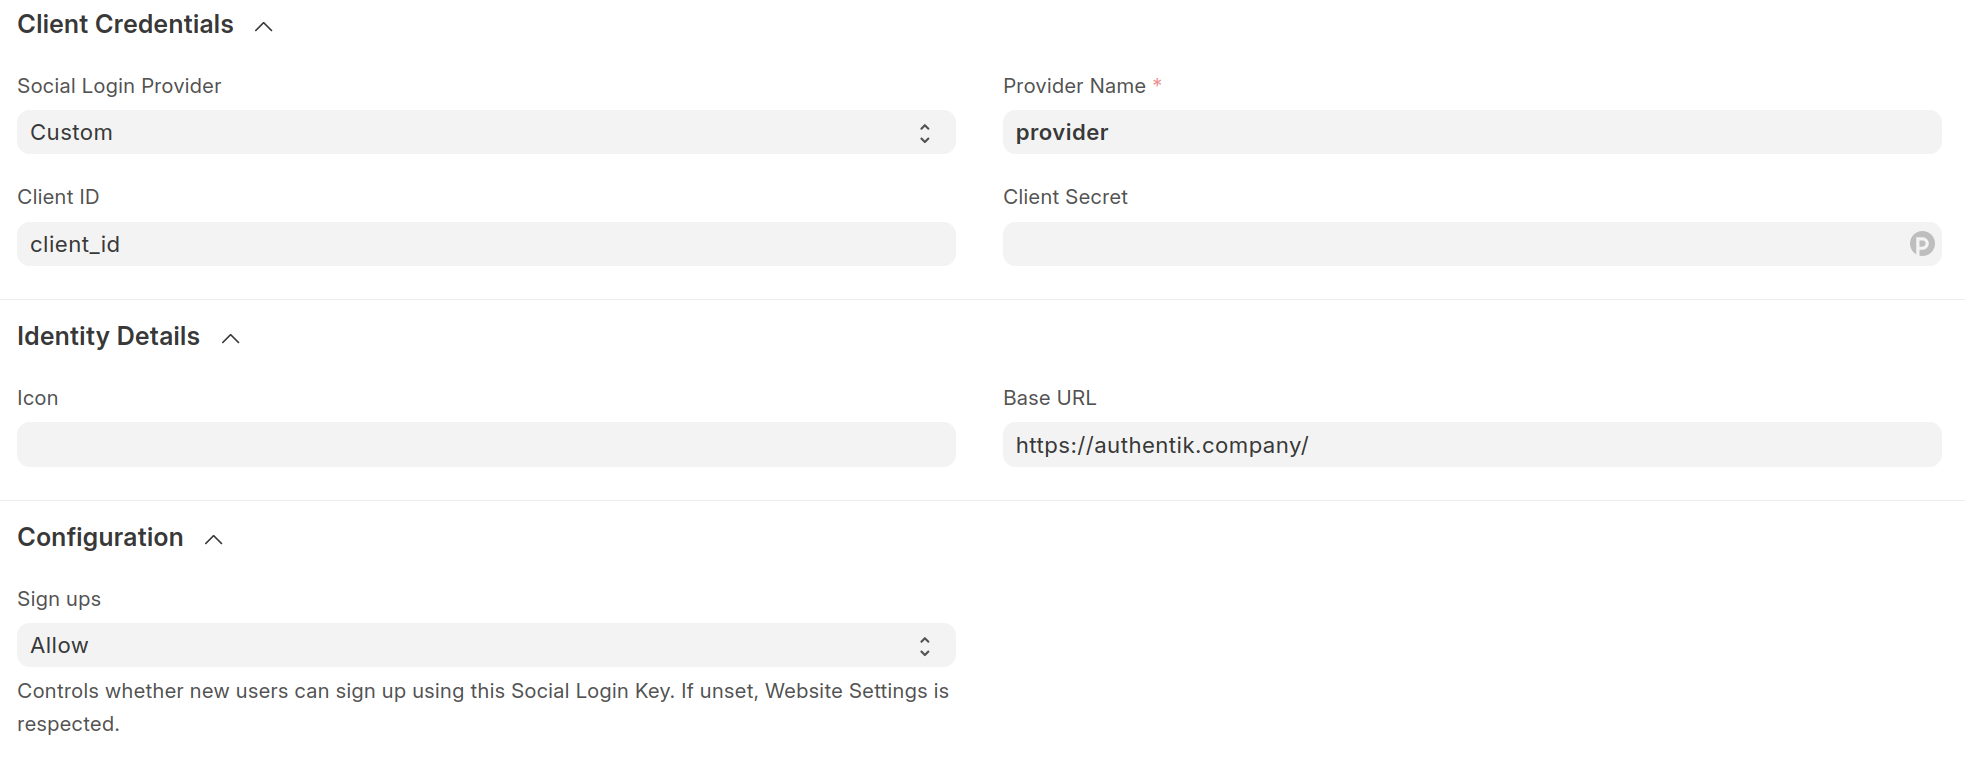
- Sign-ups: Set to Allow.
-
Identity Details
- Base URL: https://authentik.company/
- Client URLs:
- Authorize URL:
/application/o/authorize/ - Access Token URL:
/application/o/token/ - Redirect URL: https://frappe.company/api/method/frappe.integrations.oauth2_logins.custom/provider
- API Endpoint:
/application/o/userinfo/
- Authorize URL:
-
Client Information
- Auth URL Data:
{ "response_type": "code", "scope": "email profile openid" }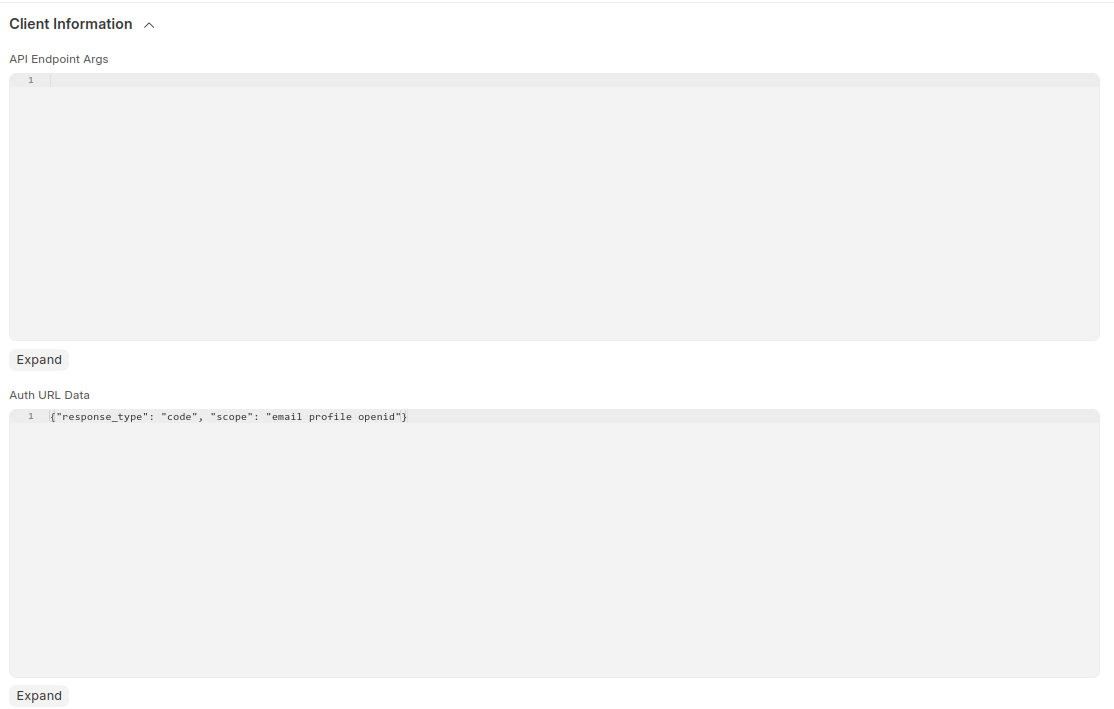
- Auth URL Data:
-
-
Save the Configuration
- Click the black Save button in the top-right corner to complete the setup.
Resources
Configuration verification
To verify that authentik is correctly set up with Frappe, navigate to your Frappe installation and click Login with Provider. A successful login should redirect you to the main page of your installation.