Harbor
What is Harbor
Harbor is an open source container image registry that secures images with role-based access control, scans images for vulnerabilities, and signs images as trusted. A CNCF Graduated project, Harbor delivers compliance, performance, and interoperability to help you consistently and securely manage images across cloud native compute platforms like Kubernetes and Docker.
Preparation
The following placeholders will be used:
harbor.companyis the FQDN of the Harbor install.authentik.companyis the FQDN of the authentik install.
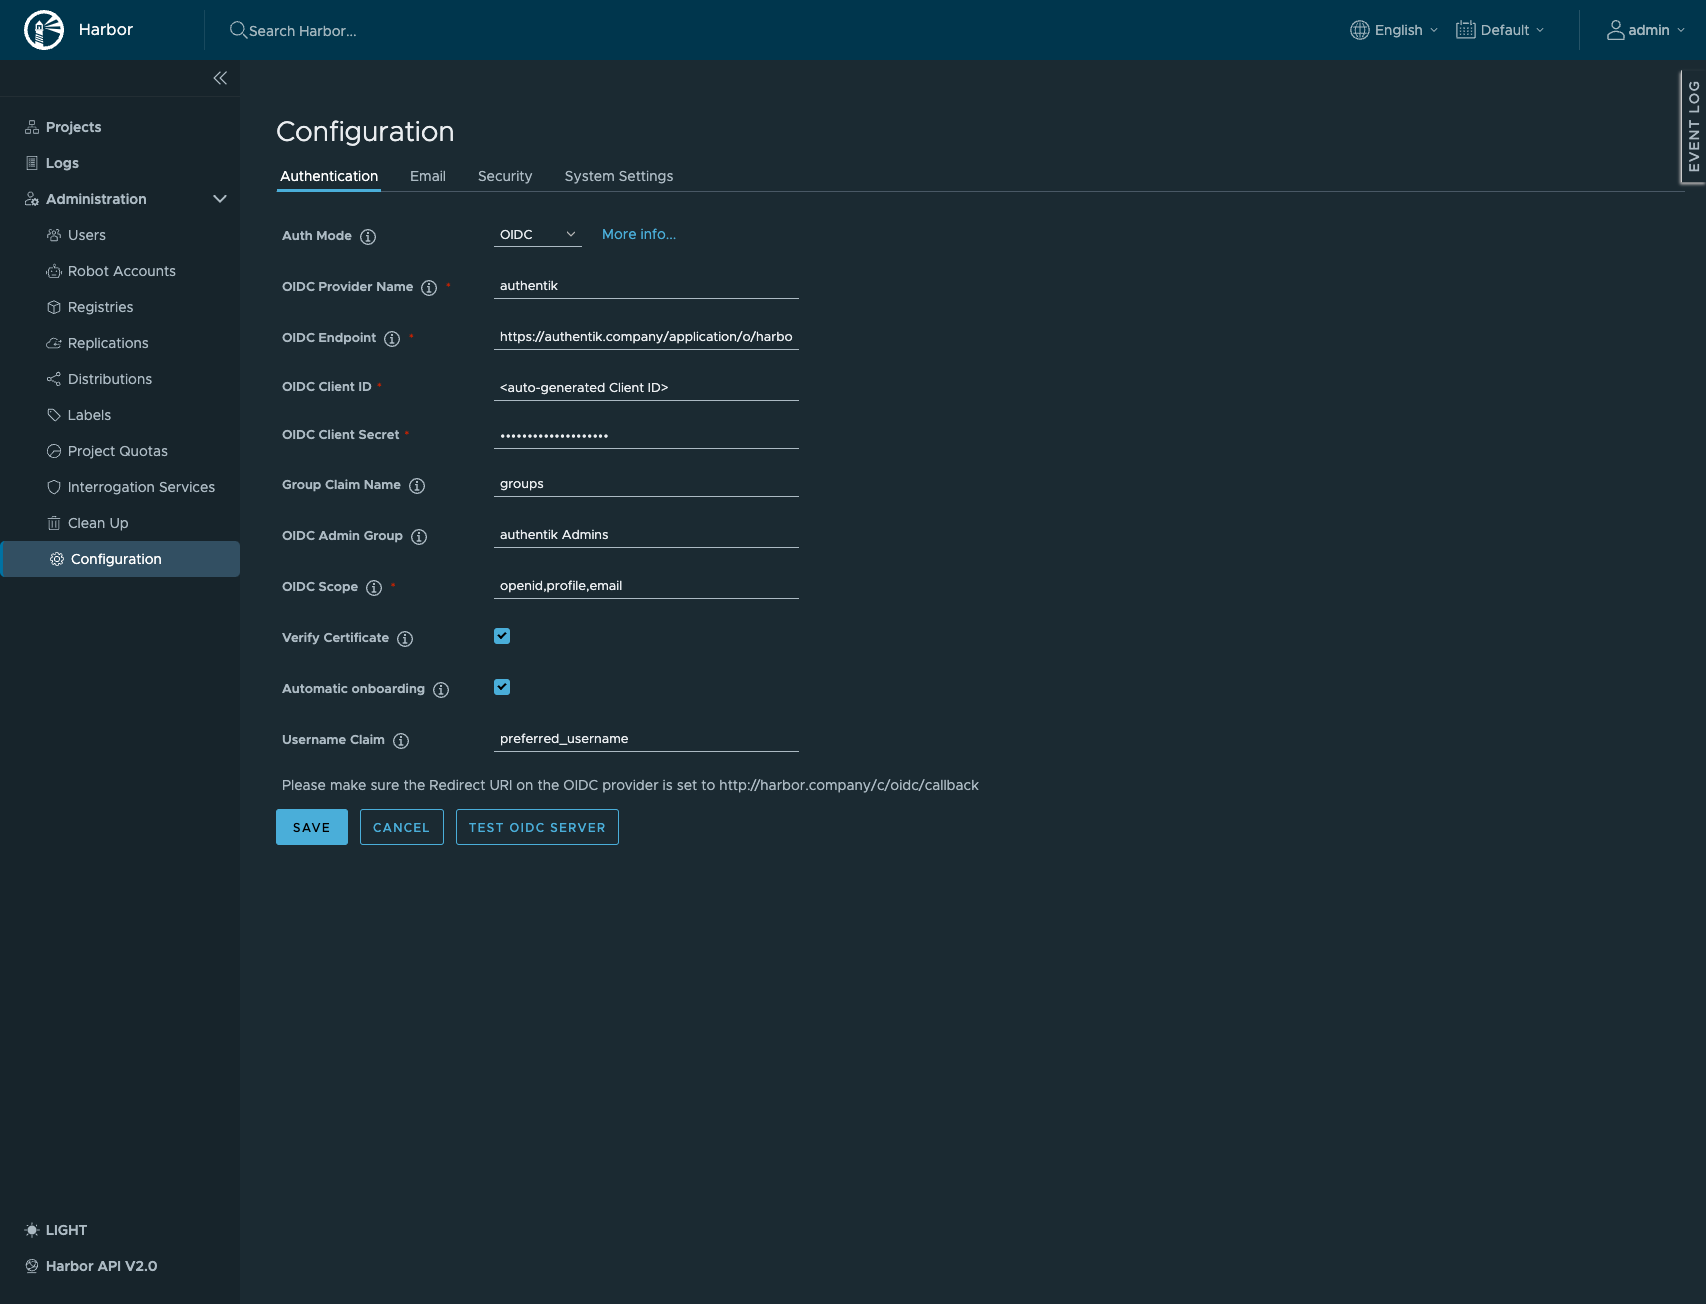
Create an OAuth2/OpenID provider with the following parameters:
- Client Type:
Confidential - Redirect URIs:
https://harbor.company/c/oidc/callback - Scopes: OpenID, Email and Profile
- Signing Key: Select any available key
Note the Client ID and Client Secret values. Create an application, using the provider you've created above.
Harbor